
 SID — vehicle speed
 SLR — configured speed limit
 SAM — speed and facial feedback
1. Attach the plate
Secure the plate with the supplied clips using a 13mm spanner. Tools are not included.

Industrial Safety Products Ltd
UK delivery: £90 ex VAT (£108 inc VAT) per order
One delivery charge for any quantity of radar signs.
Dispatch in 3–5 working days, plus 1–3 working days for delivery.
Additional delivery charges may apply to other products in your basket.

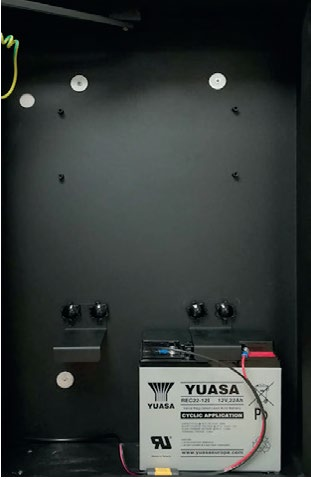
Batteries are fitted after mounting. Each battery weighs approximately 7kg.
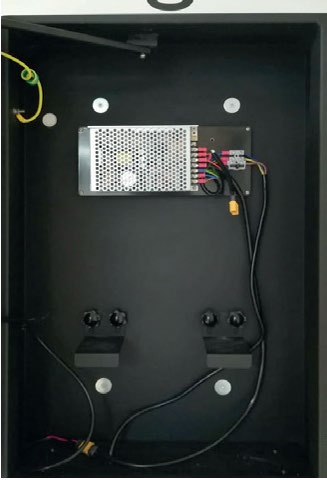
Batteries are fitted after mounting. Each battery weighs approximately 7kg.
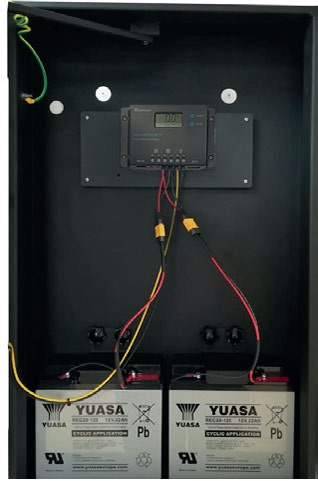
Batteries are fitted after mounting. Each battery weighs approximately 7kg.
Enclosure: 710mm high × 430mm wide × 150mm deep.
Digit height: 300mm.
Display: amber speed digits, green smiling face and red unhappy face.
Configurable trigger-speed range: 5–65mph.
Configurable display duration: 0–7.5 seconds.
Automatic brightness adjustment.
Sign weight without batteries: 8kg.
The manufacturer configures the sign to your order requirements. Trigger settings and illumination duration can be adjusted following its instructions.
Not in all conditions. Traffic, shade and weather affect charging. Mains recharging may be required during prolonged overcast weather or winter.
Ask us about data capture and connection options. The documented Kestrel Workbench software requires Windows and does not support macOS.
The supplier confirms a six-year return-to-base warranty. Contact us for current component coverage and return arrangements.
The SAM provides feedback both within and above the configured speed limit. Its facial display adds a simple visual cue to the speed reading. Because it illuminates for both groups of drivers, charging requirements can differ from the SID and SLR.
Does it respond to vehicles travelling within the speed limit?
Yes. The SAM provides a green smiling face within the configured limit and a red unhappy face above it, alongside the speed display.
Provide a clear view of approaching traffic, preferably on a straight approach. Avoid overhanging trees and solar-panel shade. Do not obscure existing signs or overhang highway boundaries without the adjoining owner’s consent.
The manufacturer’s roadside guidance specifies at least 2.15m from the ground to the base of the sign and less than 1m between the kerb and its nearest edge. Confirm the position is appropriate for the site and any authority requirements. Obtain permission before using an existing post.
Plan safe access for working at height. Mains electrical setup must be carried out by a qualified electrician.
Secure the plate with the supplied clips using a 13mm spanner. Tools are not included.
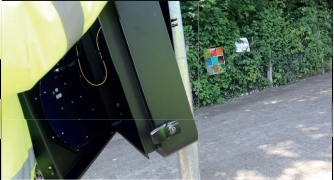
Fit the slot at the bottom of the sign onto the mounting plate.
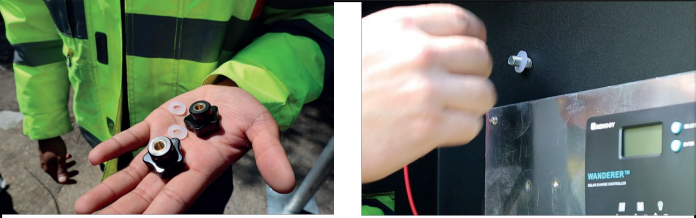
Open the enclosure and use the supplied washers and screw knobs to secure it.
Follow the complete manufacturer instructions for power connections and battery polarity. For solar setup, connect the battery to the controller before the solar panel.